I often get asked what the steps involved in creating an Illustration are from the start to the finished product, so today I thought I'd take the time to show you.
First I start with sketch-Some times I use Sketchbook Pro and my 13" Wacom Cintiq other times I use my sketch book and a pencil.
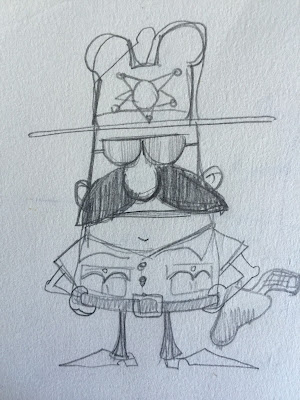 |
| Sketch |
Once I'm happy with my sketch I open it in Adobe Illustrator and start creating the parts. I generally create each item on a separate layer-alot of Illustrators don't do it that way. I find it's easier if I don't like something and want to change it. I recently purchased the DynamicSketch tool from Astute Graphics and that has made drawing with a Wacom Cintiq so much easier and faster! Highly recommend it!
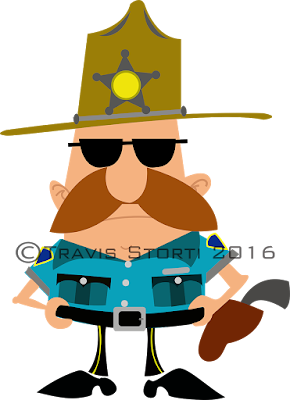 |
| Adobe Illustrator |
Once I've finished the illustration in Adobe Illustrator I export it as a Photoshop file into Adobe Phhotoshop where I add the textures, shading and anything else needed.
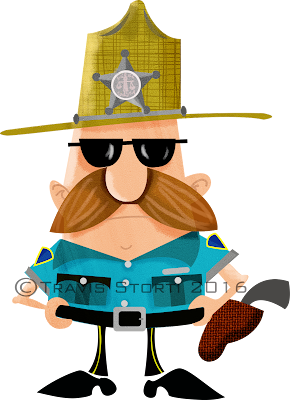 |
| Adobe Photoshop |
I add it to any other illustrations that were needed and the illustration is now complete!
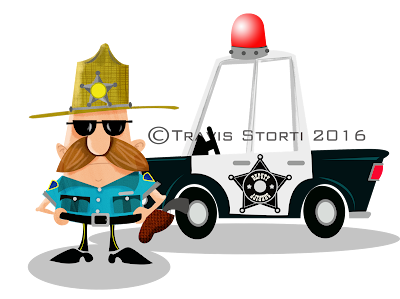 |
| Finished |
Enjoy and I'll see you next time!


